

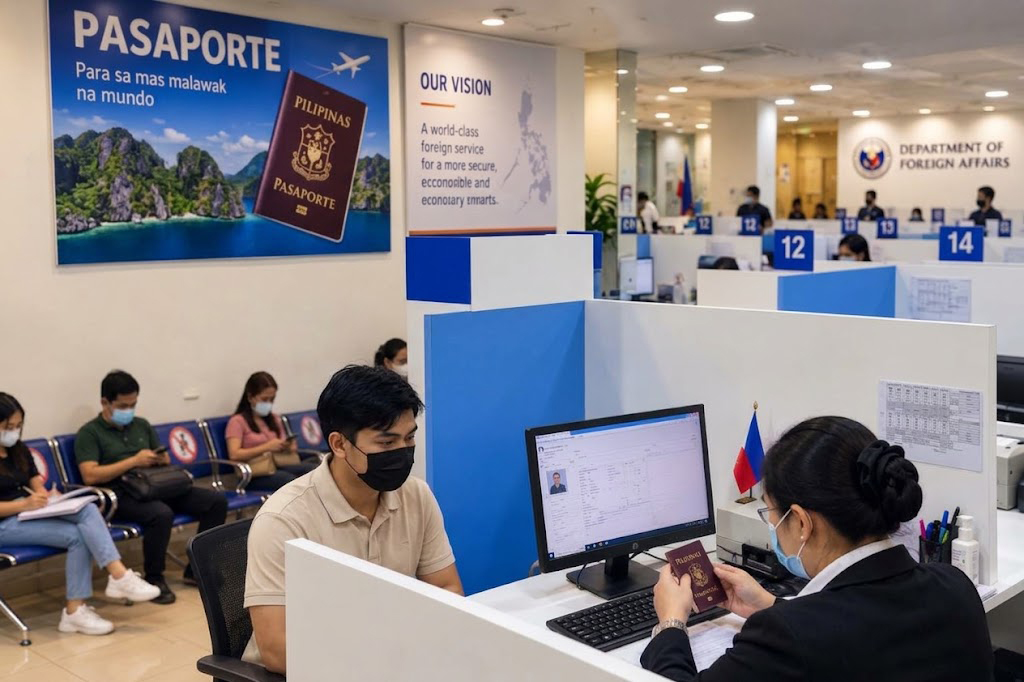
Philippine passport application 2026 is easier to navigate when you know what documents to prepare, how to secure a DFA appointment, how much the process costs, and what to expect on application day. For Filipinos applying for their first passport, proper preparation can help prevent missing documents, incorrect information, and unnecessary trips to the consular office. This guide walks first-time applicants through the application process, fees, document requirements, appointment preparation, and other practical details to check before submitting an application.
If you are applying in 2026, relying on outdated guides will cost you time and money. This guide skips the generic government jargon and gives you the exact blueprint to get your passport successfully on the first try—from securing that elusive slot to surviving the strict photo capture rules.
1. The “No-Fail” Document Checklist
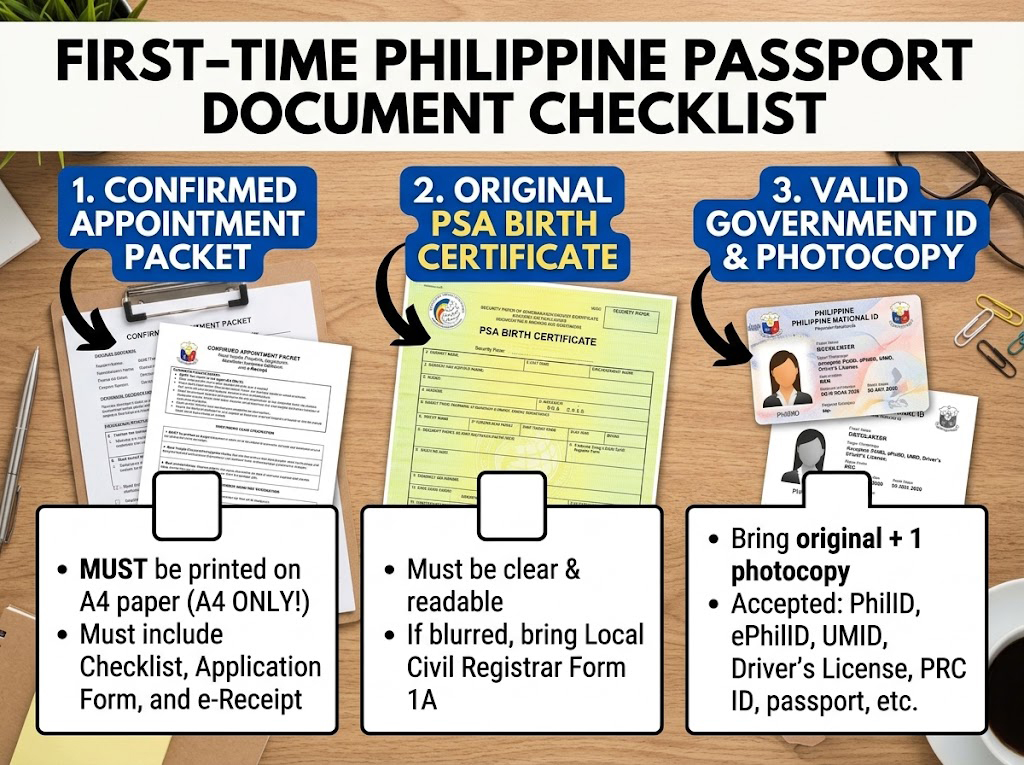
The DFA is notorious for turning away applicants over minor document issues. Before you even look for an appointment, make sure you have these exact documents physically in your hands.
- Confirmed Appointment Packet: This is sent to your email after you pay. It includes the application form (with the barcode), the system-generated receipt, and the checklist. It must be printed on A4 size paper. Letter or Legal size will be rejected.
- Original PSA Authenticated Birth Certificate: Issued by the Philippine Statistics Authority.
- One (1) Valid Government ID: Bring the original and one photocopy.
The “Valid ID” Trap in 2026
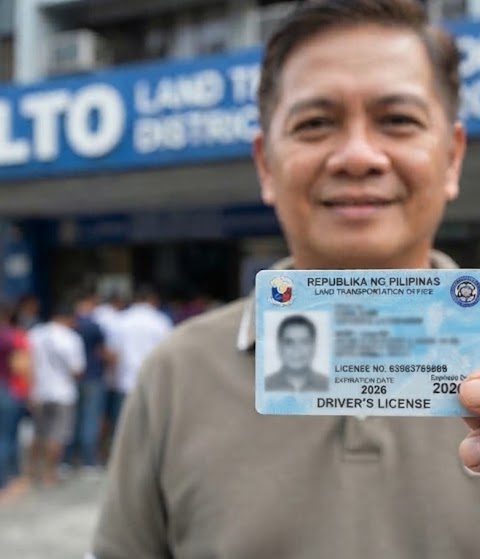
Not all government IDs are treated equally. The best IDs to bring are your Philippine National ID (PhilID), UMID, Driver’s License, or PRC ID.
Crucial Tip for National ID Holders: If you only have the printed paper version (ePhilID), the DFA accepts it, but the QR code must be readable by their scanners. Do not crumple or fold the QR section.
What if my PSA Birth Certificate is blurred?
This is the #1 reason first-time applicants get rejected. If the text on your PSA certificate is faint, unreadable, or missing edge details, you must bring a Local Civil Registrar (LCR) transcription. Go to the municipal hall where you were born and request a “Form 1A” (Transcription of Birth) to accompany your blurred PSA copy.
2. How to Actually Secure a DFA Appointment Slot
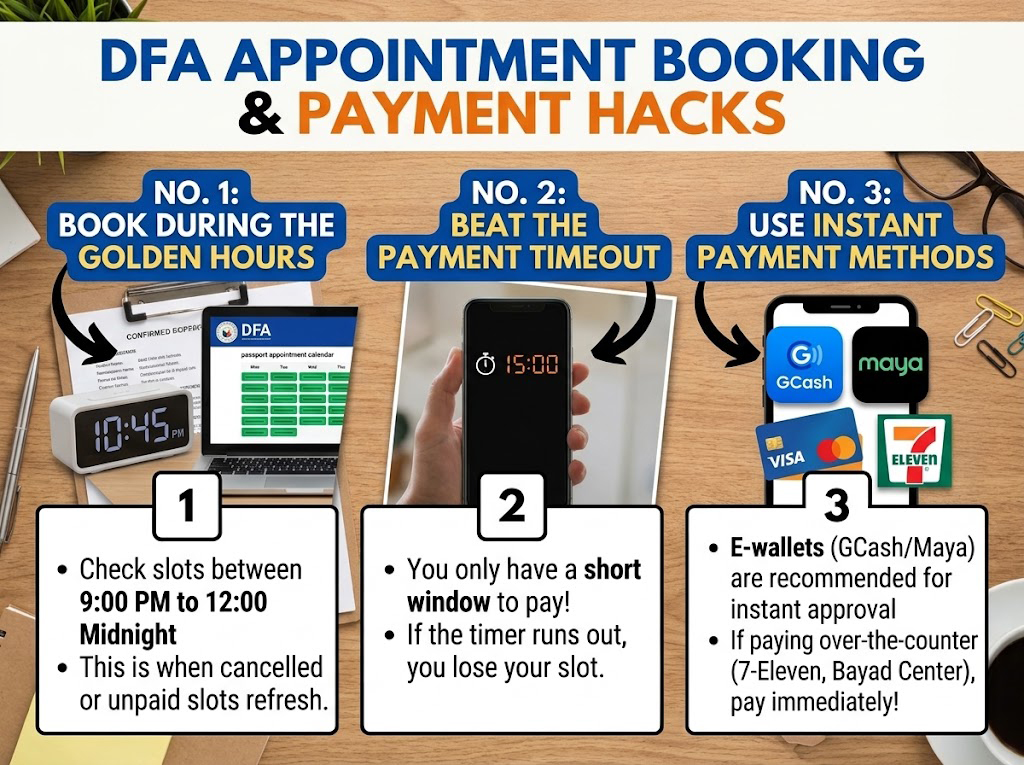
Because slots are highly competitive, you need a strategy to book one at passport.gov.ph.
- Check during off-peak hours: The DFA system usually refreshes and dumps canceled or unpaid slots back into the pool between 9:00 PM and 12:00 Midnight, or very early in the morning (around 5:00 AM).
- Expand your radius: If you live in a major hub, slots disappear in minutes. Consider looking at temporary off-site passport services (TOPS) or regional consular offices. For example, if DFA SM City Davao is fully booked, check the slots for DFA Tagum or DFA Mati.
- Beat the payment timeout: You only have a narrow window to pay once you select a slot. Use e-wallets like GCash or Maya for instant processing. If you choose “Over-The-Counter” (like 7-Eleven or Bayad Center), you must physically pay within the time limit, or the system will void your appointment.
3. Surviving the Day of Your Appointment
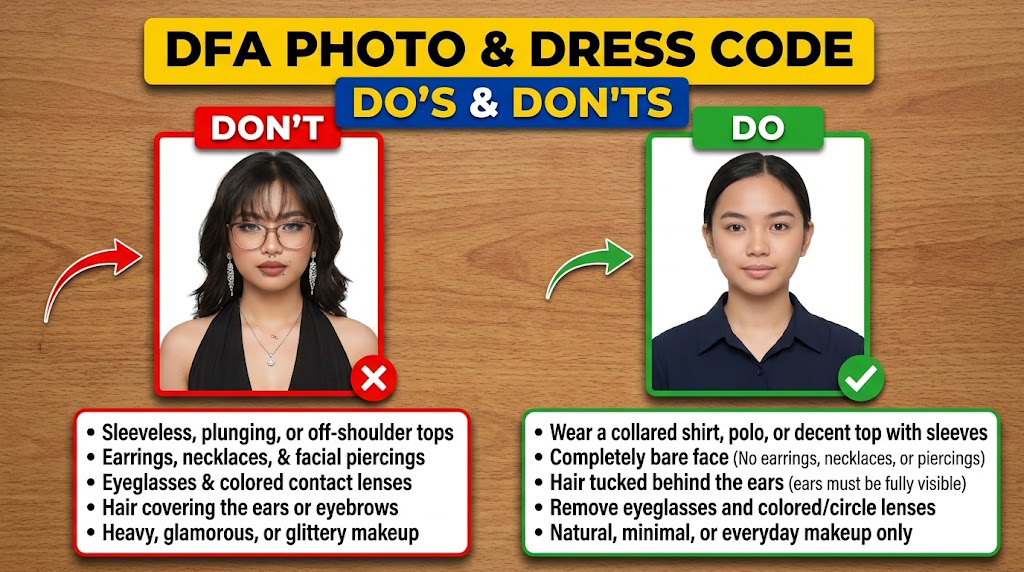
Your appointment day is purely for data capturing (fingerprints, photo, and signature) and document verification. To avoid being sent home, follow these strict ground rules:
- Do not arrive too early: DFA security will not let you inside the office until 15 to 30 minutes before your scheduled time. If your appointment is at 2:00 PM, arriving at 11:00 AM will just leave you standing in the mall hallway.
- The strict photo dress code: You must wear a collared shirt or a decent blouse with sleeves. Plunging necklines and sleeveless tops are banned.
- Remove all facial accessories: The biometric cameras are highly sensitive. You will be asked to remove your eyeglasses, earrings, necklaces, and facial piercings.
- No colored contact lenses: This is a strict biometric rule for 2026. If you are wearing colored or circle lenses, you will be forced to take them out in the waiting area, often without contact solution. Wear clear contacts or your regular glasses (which you will briefly take off for the photo).
4. 2026 Fees and Realistic Release Times
When booking your appointment, you will choose between two processing speeds. (Note: These fees are subject to slight convenience charges depending on your payment method).
| Processing Type | Cost | Estimated Releasing Time (NCR) | Estimated Releasing Time (Provinces) |
|---|---|---|---|
| Regular | ₱950.00 | 12 working days | 15 working days |
| Expedite | ₱1,200.00 | 7 working days | 7 working days |
Pick-up vs. Courier Delivery: During your application, you can pay an additional fee (usually around ₱150) to have the passport delivered to your home via LBC or Air21. While convenient, courier services can sometimes add 3 to 5 days to your wait time depending on your address. If you need the passport urgently for a booked flight, choose Pick-up and collect it directly from the DFA office on the target release date.


 Facebook
 Twitter